
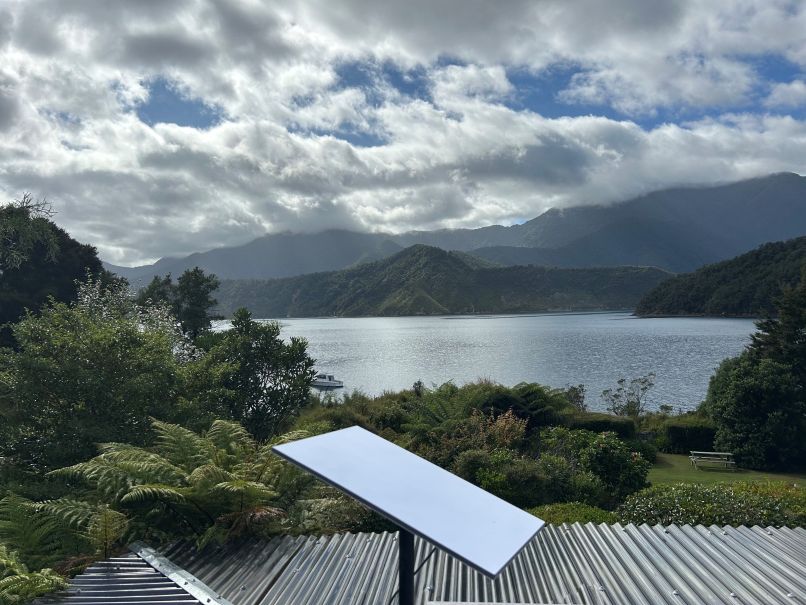
Spend more time planning and collecting gear than doing
This means your install will avoid interference from obstructions (other buildings, trees – yours and you neighbours), withstand the weather and the WIFI will work well, and avoid unnecessary holes in your exterior walls (i.e. use an existing camera or satellite TV hole).
Consider the length of Starlink cable you will need. The Standard 4 kit comes with 15m of cable. You can buy more from Starlink under “Shop” on the app and water-proof couplers (to join the cables) from Go WIFI
If you use one of the bargeboard mounts, make sure that there is something solid (e.g. beam, purlin, NOT a facia board or sheet) where you place the screws. We’ve seen them twist off the facia and damage house and/or dish at times.
Consider where in the house or structure the internet/access to WIFI is needed
For example, cameras, TVs, office/devices, remote controlled smoke alarms, etc. Near those is where you want the router OR you can plan to get a cable extension or mesh system to work around it
Protect the dish and cable as much as possible
Dishy can be subject to being affected by heat from a roof, movement or being dislodged in high winds and the cable, while weather proof, is not rat proof.
Planning
- Roof or barge board mount plus a pipe adapter to connect the Standard 4 dish to the mount pipe
- Conduit (see picture below), piping, saddles, bends, joiners, cable clips, flexi-conduit for bendy bits, etc
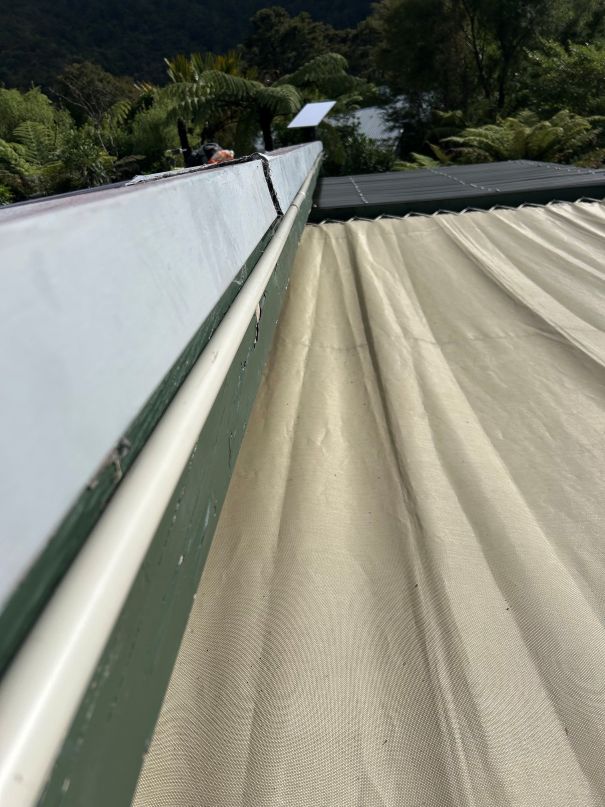
- A safe ladder and a buddy to hold it and pass you stuff, including sunscreen and beer
- Tools (socket set, impact drill/driver, spanner set, etc)
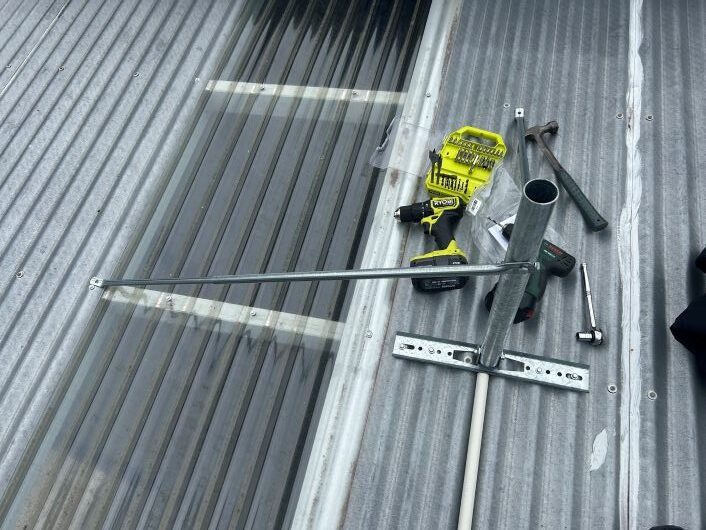
Starlink Set-up
- While the kit is reliable (we’ve had next to no failures) set it all up on the lawn or deck first and make sure everything works. Plus, you might be quite desperate for workable internet and want to use it ASAP. Even if it is less than ideal speeds without proper placement away from obstructions and not perfect alignment.
- IMPORTANT – the Starlink Standard 4 cable is a friction-based attachment and can be pulled out of the dish or power supply with gentle consistent force as needed.
Router placement and cable routing
- Often the hardest task with modern houses is that they are not built to be modified
- You may have to go up through layers of flooring and insulation, wreaking a few things on the way!
- Watch out for power cables, if in doubt turn the power off if you are making new or larger holes
- Stuff excess cable into a cavity, conduit or rat proof enclosure if possible. Nasty surprise can occur otherwise.
Dish mounting
- No wind and dry roof ideal
- Power down the dish and router before roof mounting and leave the pipe adapter screws slightly lose. Then power up dishy and re-check alignment. BE PATIENT you’ve moved it and stood in front of it, it’s got a shock and needs time to re-align.
- Remove and reuse existing holes in roof where possible
- Replace with/use screws from mount kit if longer than existing
- Put the rubber grommets between the mount kit base and roof, protecting the water integrity of the roof. Same for securing the roof mount stays.
- IMPORTANT – route the cable up through the pipe/base of the mount, through the pipe adapter and into the dish before you piece it all together. Yes, it’s backwards I know.
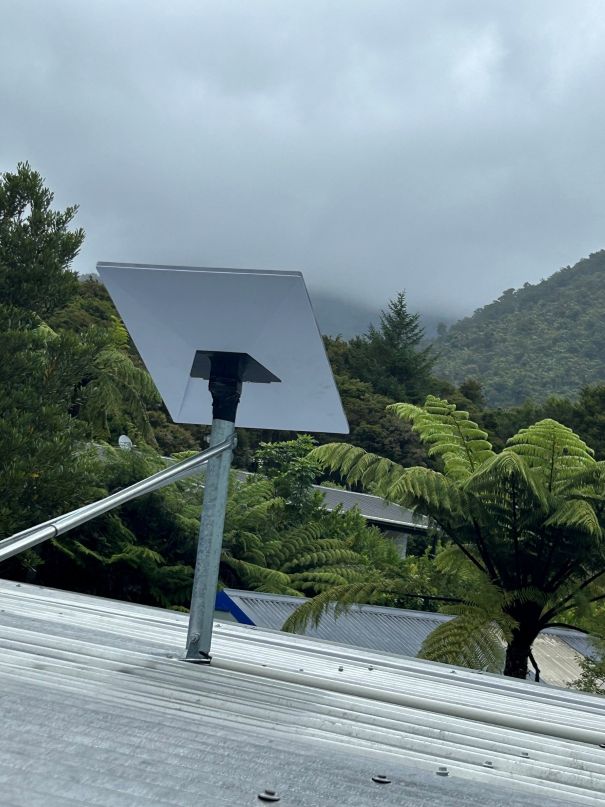
Where to buy mounting kit and accessories
Local TV antenna installers have mounting kits and pipe adapters. Or there is Digital Imports or Go WIFI, and the Starlink app under “Shop”, if you need to buy online or shop around.
Bunnings have conduit at a reasonable price. Electrical wholesalers tend to be very expensive unless you can get a trade discount.
Clear vinyl tubing can be used to provide some protection around corners. (6mm ID split with knife). Or you can use Corrugated Conduit for even more protection. SCA Corrugated Tubing – Split.
Trunking conduit can also be used (eg 16 x 10mm Trunking Conduit Trunking Conduit ) The advantage of trunking is that the cover clips on and you don’t have the thread the cable through it.
If you use one of the bargeboard mounts, make sure that there is something solid (e.g. a beam, purlin) where you place the screws.
There may be some delay before your comment is posted.
*name optional