I’ve installed a few dishes and wanted to share a quick blog on what worked for me.
December 2022 Update: Focused on tips for the new standard dish
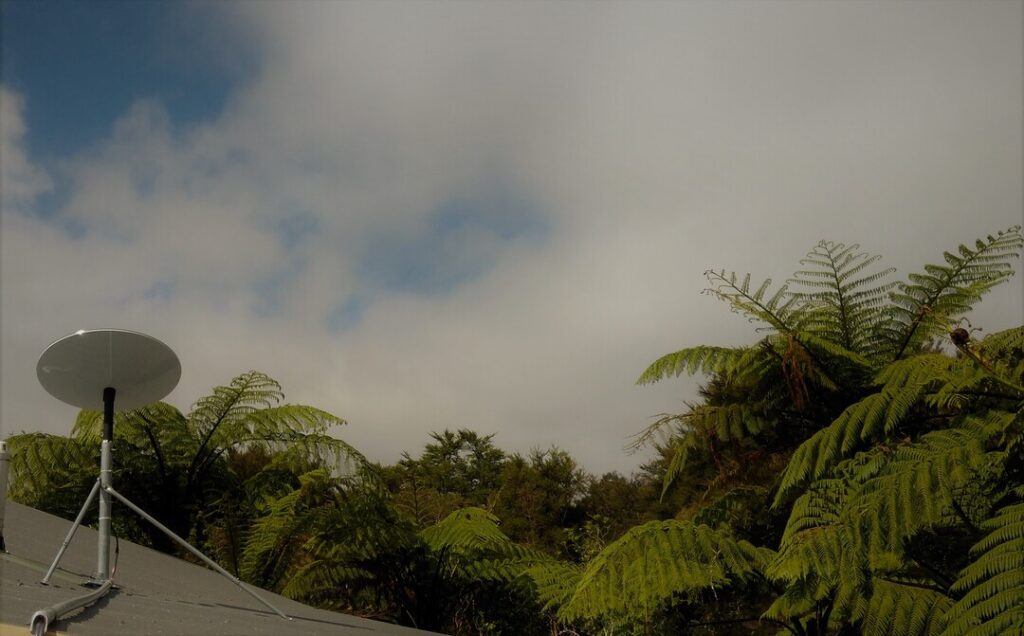
The Mount
We went to a local TV antenna installer to see what mounts were available. They suggested a mount by Digital Imports as being suitable for a typical NZ iron roof. The STARLINK2 is a good mount, and is 1m high to help get the dish above the heat of the roof. The cost was $65. These kits come with long screws to attach to the roof. (A 1.8m version is also available to clear obstructions.)
We also purchased 4 rubber grommets to seal the roof where the bolts go through the roof. (The installer recommended grommets instead of sealant)
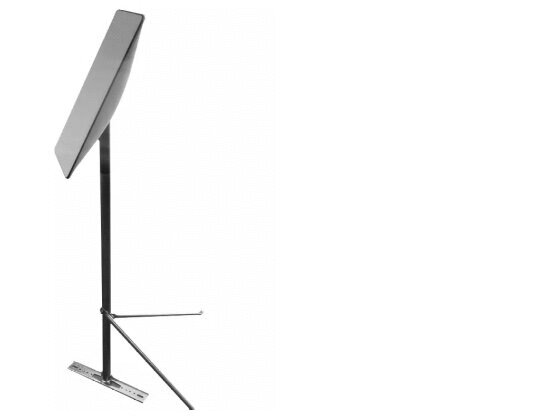
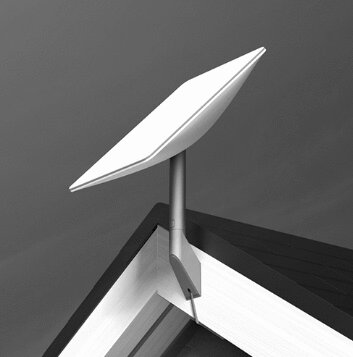
Starlink also sell their own mounts. If you use one of the bargeboard mounts, make sure that there is something solid (eg beam, purlin) where you place the screws. You might get an idea of the underlying roof structure by looking at where the dew forms first in the evening
Getting the cable into the house
Through the floor is usually the easiest method. Coming up through a cupboard can hid the hole.
Miscellaneous items needed
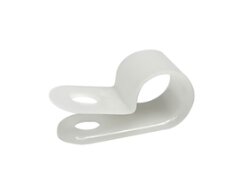
Definitely get some cable clamps. (Either from TV antenna installer or Jaycar ). Screw mounted is best.
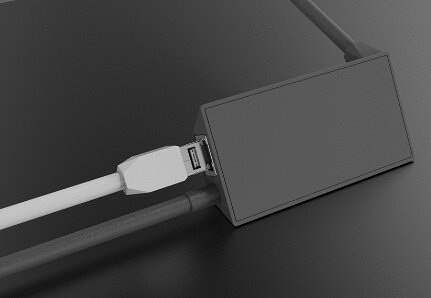
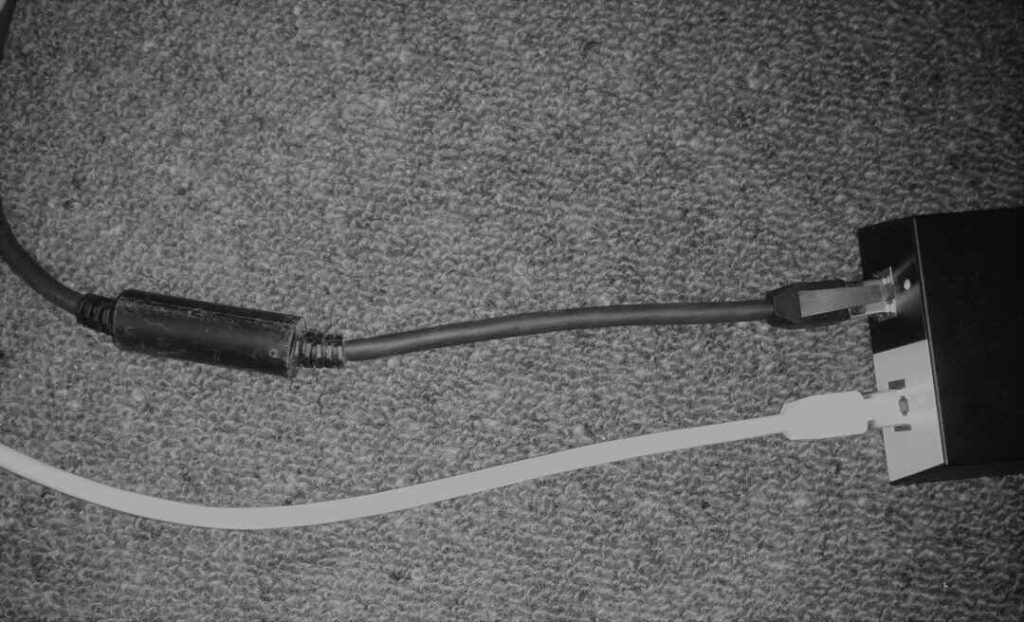
If you want to connect to Starlink via an Ethernet cable, then Starlink sell “Ethernet Adaptors”. You will need this adaptor if you want to connect a 3rd party mesh system to Starlink.
Protecting the cable
If the cable gets damaged, it is difficult to repair and weatherproof. (It is an Ethernet cable with 8 wires inside.).
Conduit can help protect the cable. Conduit is also useful for difficult to access places such as under the house (just poke the conduit into place and then push through the Ethernet cable).
Electrical conduit can be purchased (eg 25 mm medium conduit is approx $5.50 per 4m length) for the more exposed positions. Note that the conduit has an outside diameter of 25mm.
You can get 90 bends for the conduit, but unfortunately the cable connector etc is too big to go around the bends. (I’ve got one for sale if anyone is interested…) However clear vinyl tubing can be used to provide some protection around corners. (6mm ID split with knife). Or you can use Corrugated Conduit for even more protection. 10mm SCA Corrugated Tubing – Split.
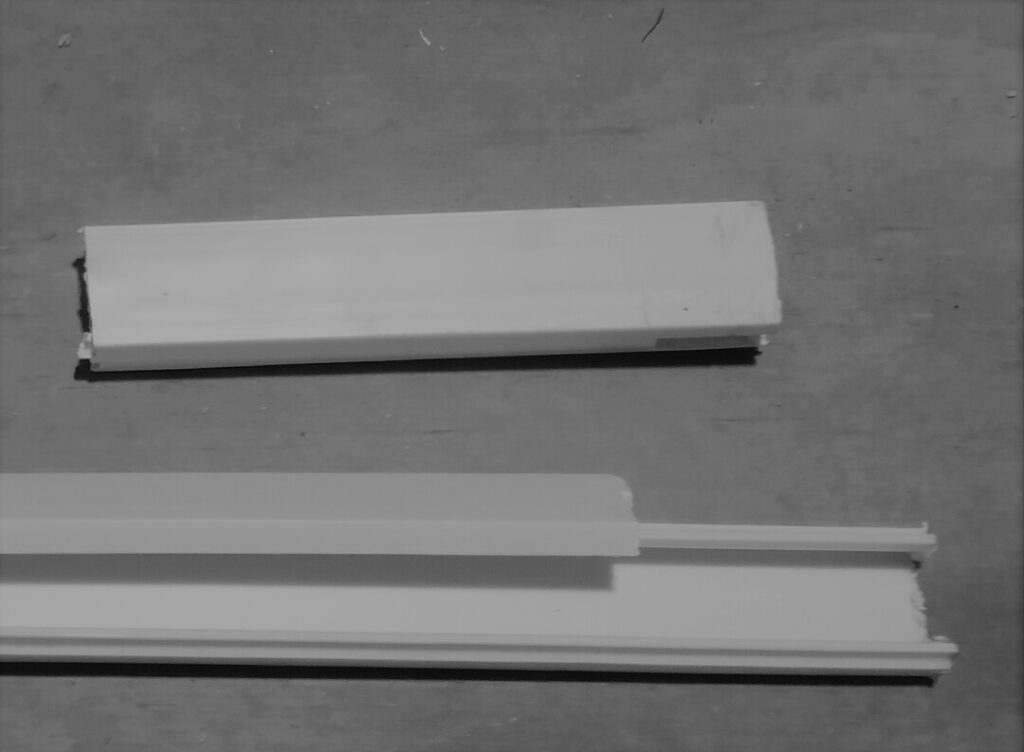
Trunking conduit can also be used (eg 25 x 16mm Trunking Conduit Trunking Conduit ) The advantage of trunking is that the cover clips on and you don’t have the thread the cable through it.
Don’t forget the drip loops.
Location
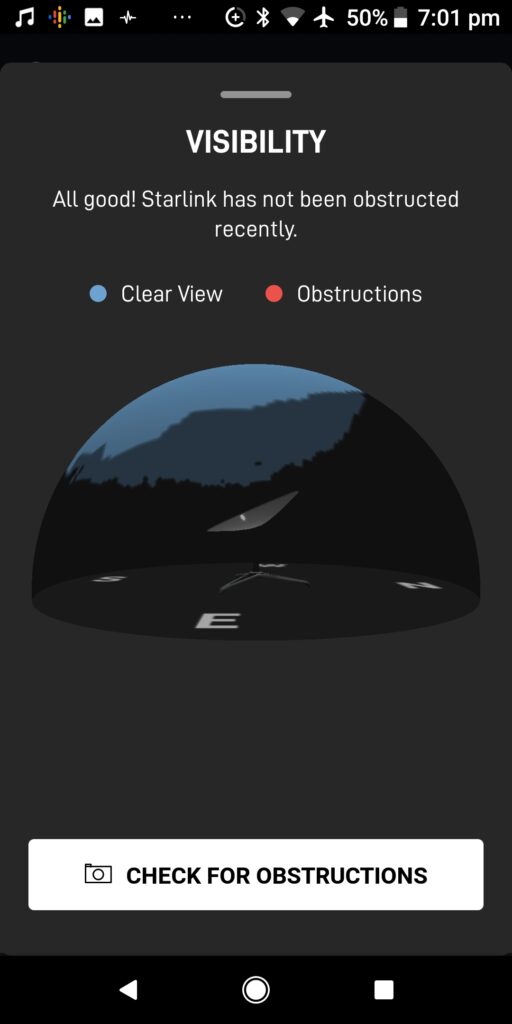
Unlike normal TV sat dishes, the beam moves to track the satellites as they move. Therefore it is strongly recommended to use the Starlink app to check for potential obstructions. Its easier to use the app if you can see the screen well (I suggest that dusk is the best time)
If you are unsure of the location, mount the dish temporarily for at least 12 hrs. You can then use the app to check for outages and visibility.
If your roof is not steep then it may be practical to temporarily place some heavy wooden beams on the roof and use the provided mount.
There is a lot of electronics in in Dishy. In extreme cases Dishes have been known to temporarily shutdown.
The square dish is rated for ambient temperatures up to 50 degree C. Roofs can be hot places, so I’d suggest having the dish at least a metre above the roof.
Best practice would be to install the dish in the coolest place practical. In extreme cases consider the colour of your roof.
Enabling a Dish purchased from Noel Leeming
If you purchased your Starlink Kit from Noel Leeming you will need to activate your subscription. See Starlink FAQ for details on how this is done.
There may be some delay before your comment is posted.
*name optional