
There are several ways that you can extend your broadband to other buildings on your property. I’ve outlined the options, together with some pros and cons.
The first three options below are relatively easy to install yourself. However you might want a professional for the other options. There are specialist companies that can help if required (e.g. ki-wifi). Local security camera installers may also be able to help.
Important- you will need to purchase a Starlink Ethernet Adaptor” for all the options below if you have a gen 2 Starlink dish. (Either from Starlink direct or from Noel Leemings.)
In roughly increasing order of cost/complexity:
Mesh
Pros: Seamless coverage, easy setup, cost effective
Cons: Limited range and performance. Metal walls may be an issue.
If your internet requirements are modest (eg web browsing and maybe one TV showing Netflix), and the other building is within say 10 metres, then mesh can be a top choice.
The mesh units connect wireless, so no need to run cables.
I’d suggest a mesh system that uses Wifi-6 such as the TP-link Deco X20 .

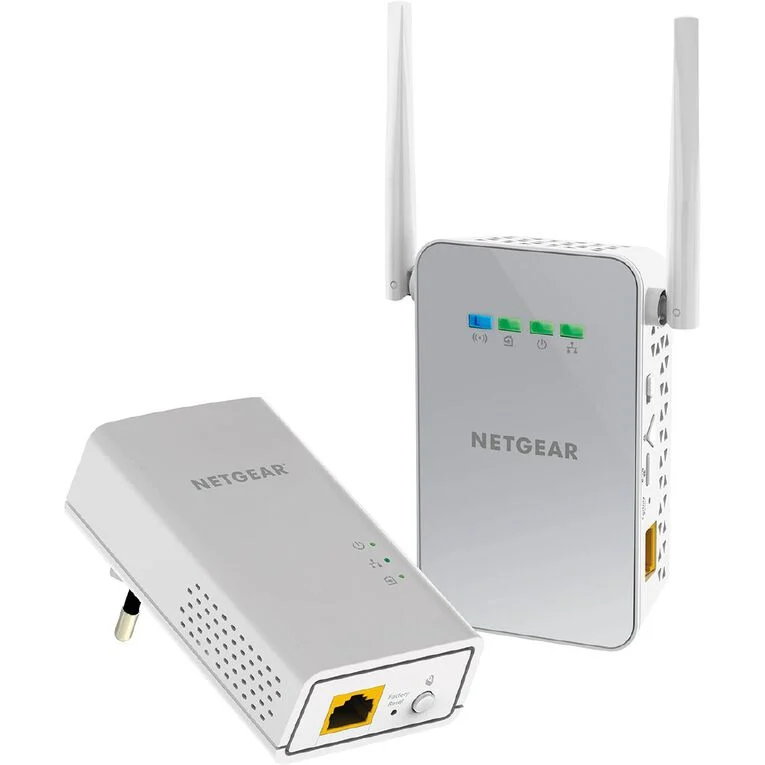
Power Line adapter
Pros: Easy setup, budget-friendly
Cons: May not work with your electrical wiring.
Powerline adapters use your electrical wiring to transmit data. You plug one adapter into an electrical outlet near your router and another adapter into an outlet near the shed. They communicate through your electrical wiring, extending the internet connection. Example
There may be some situations where powerline adaptors won’t work with your wiring (eg the shed is on a different “electrical phase”). I’d suggest buying from a shop with a good return policy.
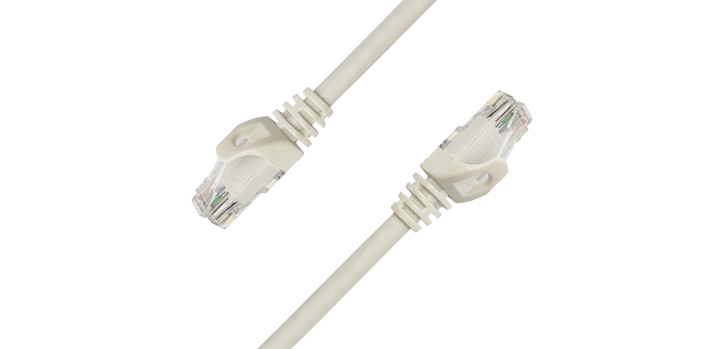
Buried Ethernet Cable
Pros: Simple. Stable and fast connection, no signal loss.
Cons: Requires digging, susceptible to lightning damage. Max length 100m
If you don’t mind a bit of digging, you can bury an Ethernet cable underground between your house and the shed. Use an Ethernet cable designed for outdoor use. This method provides a stable and fast connection.
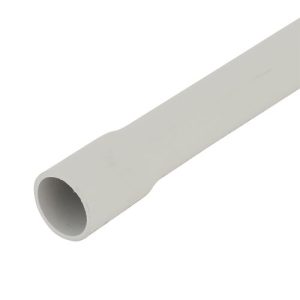
The cable doesn’t need to be buried deep if it’s in a conduit.
Note: To establish WiFi connectivity within the building, it is necessary to connect a mesh unit or wireless access point to the Ethernet cable. Additional details can be found here.
Recommendations:
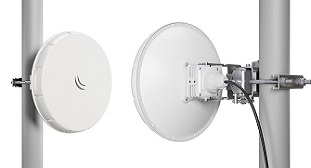
Wireless Bridge
Pros: High-speed connection over long distances.
Cons: Requires line-of-sight between antennas.
A point-to-point wireless bridge uses two directional antennas to establish a high-speed wireless connection between two points. This method is great for longer distances where running cables is not practical.
Its important to note that you will need a clear line-of-sight between each end (ie no trees in the way). The antennas are small and can easily be mounted on poles to help achieve line of sight.
Some equipment requires complex configuration, but there are bridges available that are preconfigured e.g. MikroTik Wireless Wire Cube Pro ac, TP-Link EAP215-Bridge KIT , and Ruijie Reyee RG-EST310 V2 . These bridges shouldn’t be too difficult to install for the technically minded.
Note: To establish WiFi connectivity within the building, it is necessary to connect a mesh unit or wireless access point to the bridge unit. Additional details can be found here.
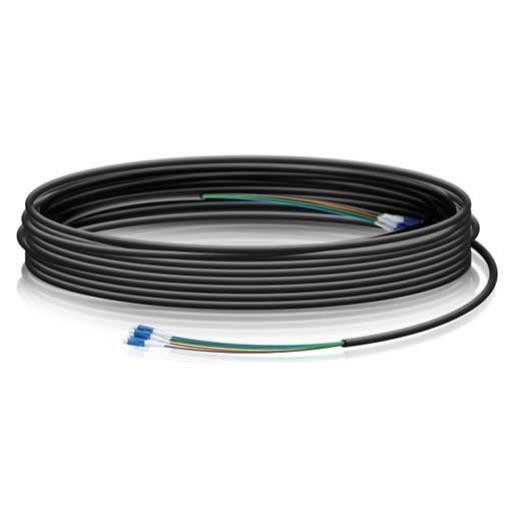
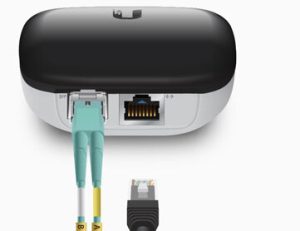
Fibre Optic Cable
Pros: Provides the fastest and most stable connection. Good longevity.
Cons: Can be labour intensive. Probably not DIY for most people.
The equipment costs for this option can be inexpensive, but the labour costs could add up. Basic equipment for a 30m run would start at around $400 (Ubiquity media converters, SFPs, 30m fibre, 30m conduit)
Special fibre tools are not required because the cables are available with the connectors attached. The cables are available locally (eg plain cable, armored cable), or from fs.com .
Note: To establish WiFi connectivity within the building, it is necessary to connect a mesh unit or wireless access point to the media converter. Additional details can be found here.
A great summary of options, thanks.
Hi has anyone successfully installed CF-E319A with starlink?
Scene is this.
Starlink gen 2 all set up working fine in main home. Have the adaptor with ethernet cable to a power block supplied with the CF-E319A then another POE cable to the extender it self. On the roof clear line of sight to next house approx 70mtres away.
The 2nd CF-E319A is installed on 2nd house roof. POE cable to injector block which is plugged into starlink adaptor which then is plugged into a second router acting as a Node.
Try to connect on 2 phones. But can only pick up the 2nd node but no Internet access.
Any help?
Sounds like you have done most of the hard work. I haven’t used Comfast but might be able suggest a few things to check:
1. Were the Comfast units pre-configured to work as a pair? If not you will need to set them up yourself. (There a few youtube videos that might help https://youtu.be/wcx9Stb6K_U?si=SJv6LffLiS1JiW66 and https://youtu.be/rts2cBisf8Y?si=gGxLAag4KTDv6kTr ) Essentially one unit needs to be set up as an AP and the other unit as a repeater.
2. I’d try to get the Comfasts working first without the second router (ie connect a laptop to the remote Comfast using a ethernet cable)
3. If you have the SL router, the Comfast and the second router all allocating IP addresses they could be a clash. There should only be one DHCP server per subnet. What type of router are you using, and is it configured as an AP?
4. I don’t think that the Comfast has a specific WiFi setting for NZ. This means that you will have to manually check that you are using frequency channels and power levels that are legal in NZ. If you use the wrong channel it could interfere with the Met Services weather radar or marine radar, and you can expect a visit from someone. Suggest that you use channel 149. https://www.rsm.govt.nz/assets/Uploads/documents/5-ghz-info-leaflet-2021-update.pdf
Very helpful web site for a new Starlink user. Starlink has been a huge improvement over our previous VDSL.
Thank you.
A most informative site, many thanks indeed.